- Published on
Homelab Networking: From ToDesk to FRP
- Authors

- Name
- Shuqi Wang
For a long time, I envied those who could simply type ssh user@server and instantly connect to their computers. It seemed like a superpower.
To achieve that convenience for my own homelab, I went through quite a few tools, and to be honest, it was a bit of a struggle.
The Trial and Error
- ToDesk/TeamViewer: My starting point. They worked, but the free tiers were restrictive, and I really disliked the UI clutter.
- Tailscale: Everyone recommended this. It's fantastic technology, but on my specific network, I faced constant latency spikes and conflicts with other proxy tools I was running. It just didn't feel "clean" enough for my needs.
- Cloudflare Tunnels: Easier to set up, but I experienced random disconnects that were frustrating when trying to do serious work.
Eventually, I decided to go the manual route: FRP (Fast Reverse Proxy). It involves buying a cheap VPS (Virtual Private Server) to act as a bridge. It’s a bit more work to set up, but the result is a rock-solid, low-latency connection that I have complete control over.
Here is the configuration note I wrote for myself—hope it helps if you are on the same path.
The Concept
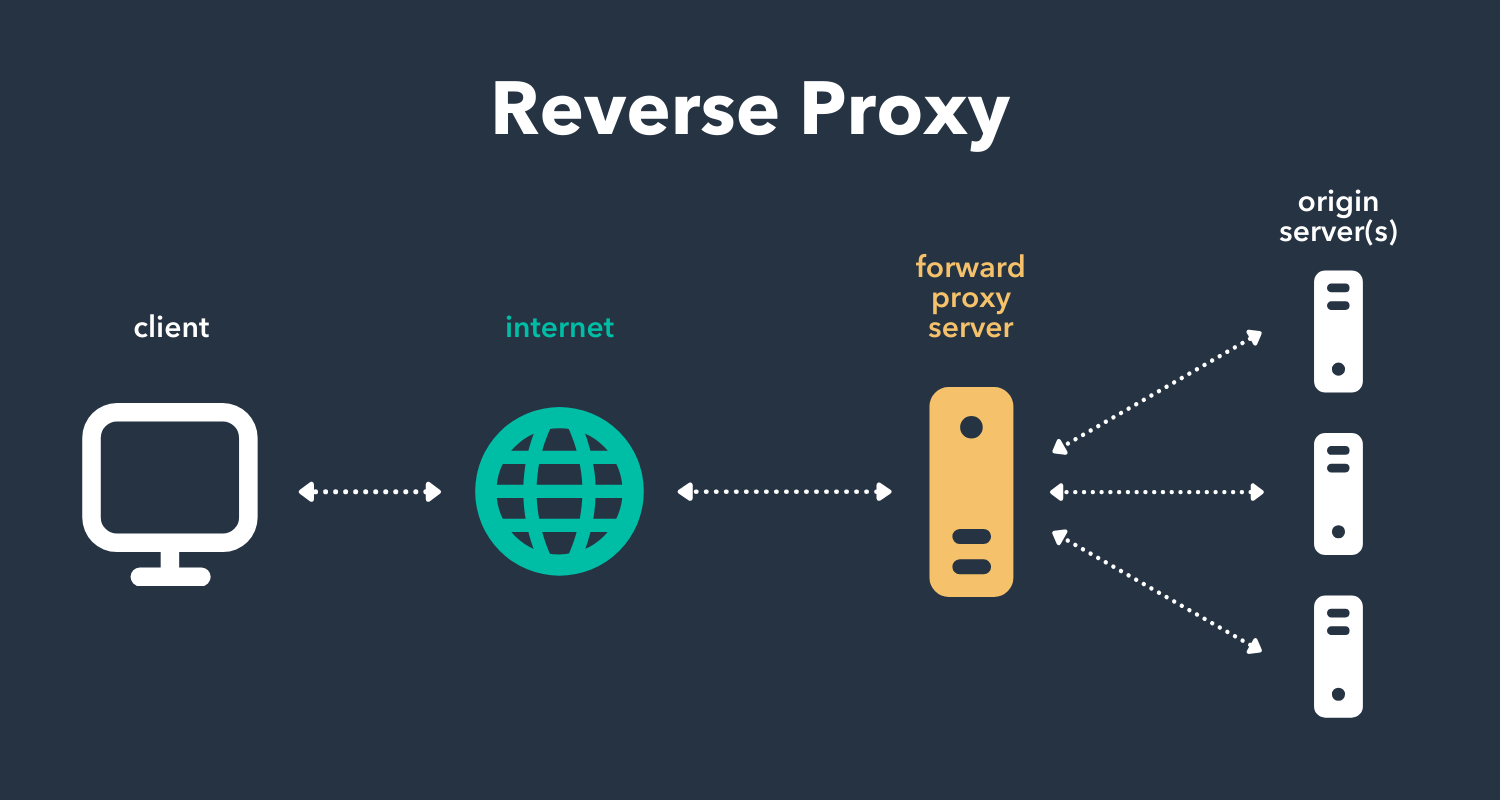
FRP Architecture: Local homelab tunnels through a public VPS
The logic is simple. My homelab (at home) has no public IP. The VPS (in the cloud) has a public IP. I run a program (frpc) on my homelab that keeps a permanent connection open to the VPS (frps). When I want to SSH home, I actually SSH to the VPS, and it forwards the traffic down that pre-existing tunnel to my room.
1. The Middleman (VPS Setup)
I grabbed a cheap VPS (Ubuntu 22.04) from CloudCone. It doesn't need to be powerful; it just needs a stable network.
Install frps (Server):
First, I downloaded the latest release from GitHub.
wget https://github.com/fatedier/frp/releases/download/v0.51.3/frp_0.51.3_linux_amd64.tar.gz
tar -zxvf frp_0.51.3_linux_amd64.tar.gz
The configuration file frps.toml is minimal. I just need to specify a bindPort where the server will listen for clients:
# frps.toml
bindPort = 7000
To keep it running after I disconnect, I set up a systemd service:
# /etc/systemd/system/frps.service
[Unit]
Description=frps service
After=network.target

[Service]
Type=simple
ExecStart=/path/to/frps -c /path/to/frps.toml
Restart=always
RestartSec=5

[Install]
WantedBy=multi-user.target
Then simply systemctl enable --now frps.
2. The Target (Homelab Windows PC)
On my Windows PC at home, I downloaded the Windows version of frpc.
Configuring frpc.toml:
I mapped my local SSH port (22) to a port on the VPS (6000).
serverAddr = "vps.example.com" # My VPS Domain/IP
serverPort = 7000

[[proxies]]
name = "ssh-home"
type = "tcp"
localIP = "127.0.0.1"
localPort = 22
remotePort = 6000
Auto-start on Windows: I didn't want to manually run a command every time I rebooted. I used WinSW to wrap frpc as a Windows Service so it starts quietly in the background.
3. The Connection (My Laptop)
Now, technically I can connect by typing ssh user@vps.example.com -p 6000. But to make it feel like that "superpower" I envied, I added an alias to my ~/.ssh/config:
Host homelab
    HostName vps.example.com
    Port 6000
    User my_windows_user
Now, no matter where I am, I just type ssh homelab and I'm in.
A Note on WSL
Since I do most of my development in WSL (Windows Subsystem for Linux), I actually run a second frpc instance inside WSL, pointing to a different remote port (e.g., 6001). This treats my WSL instance as a completely separate server, which is much cleaner than trying to route everything through Windows.
It was a bit of a weekend project to figure this all out, but having a stable, controllable entry point to my data was definitely worth the effort.